Enable Single SignOn from Auth0 to your Canary Console with these steps. These instructions set up Auth0 to only support authentications that originate at your Canary Console (i.e. IdP-initiated authentication is not supported in this configuration.)
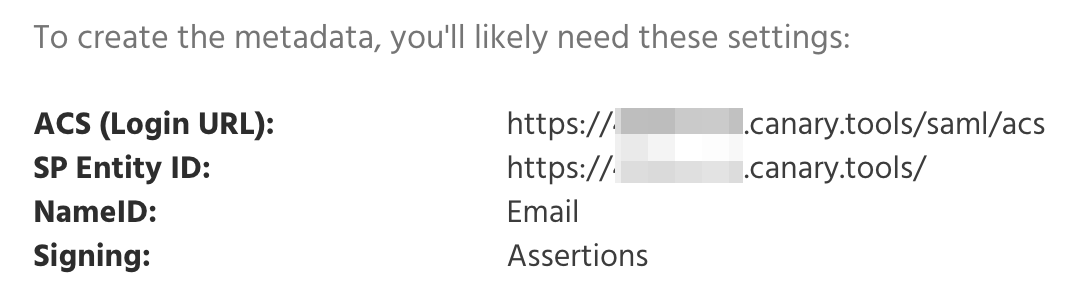
Step 1: Log in to your Canary Console and copy the SAML parameters
Log in to your Console, click Setup on the top navbar, then SAML on the left menu:
Step 2: Log in to Auth0 and create a new application
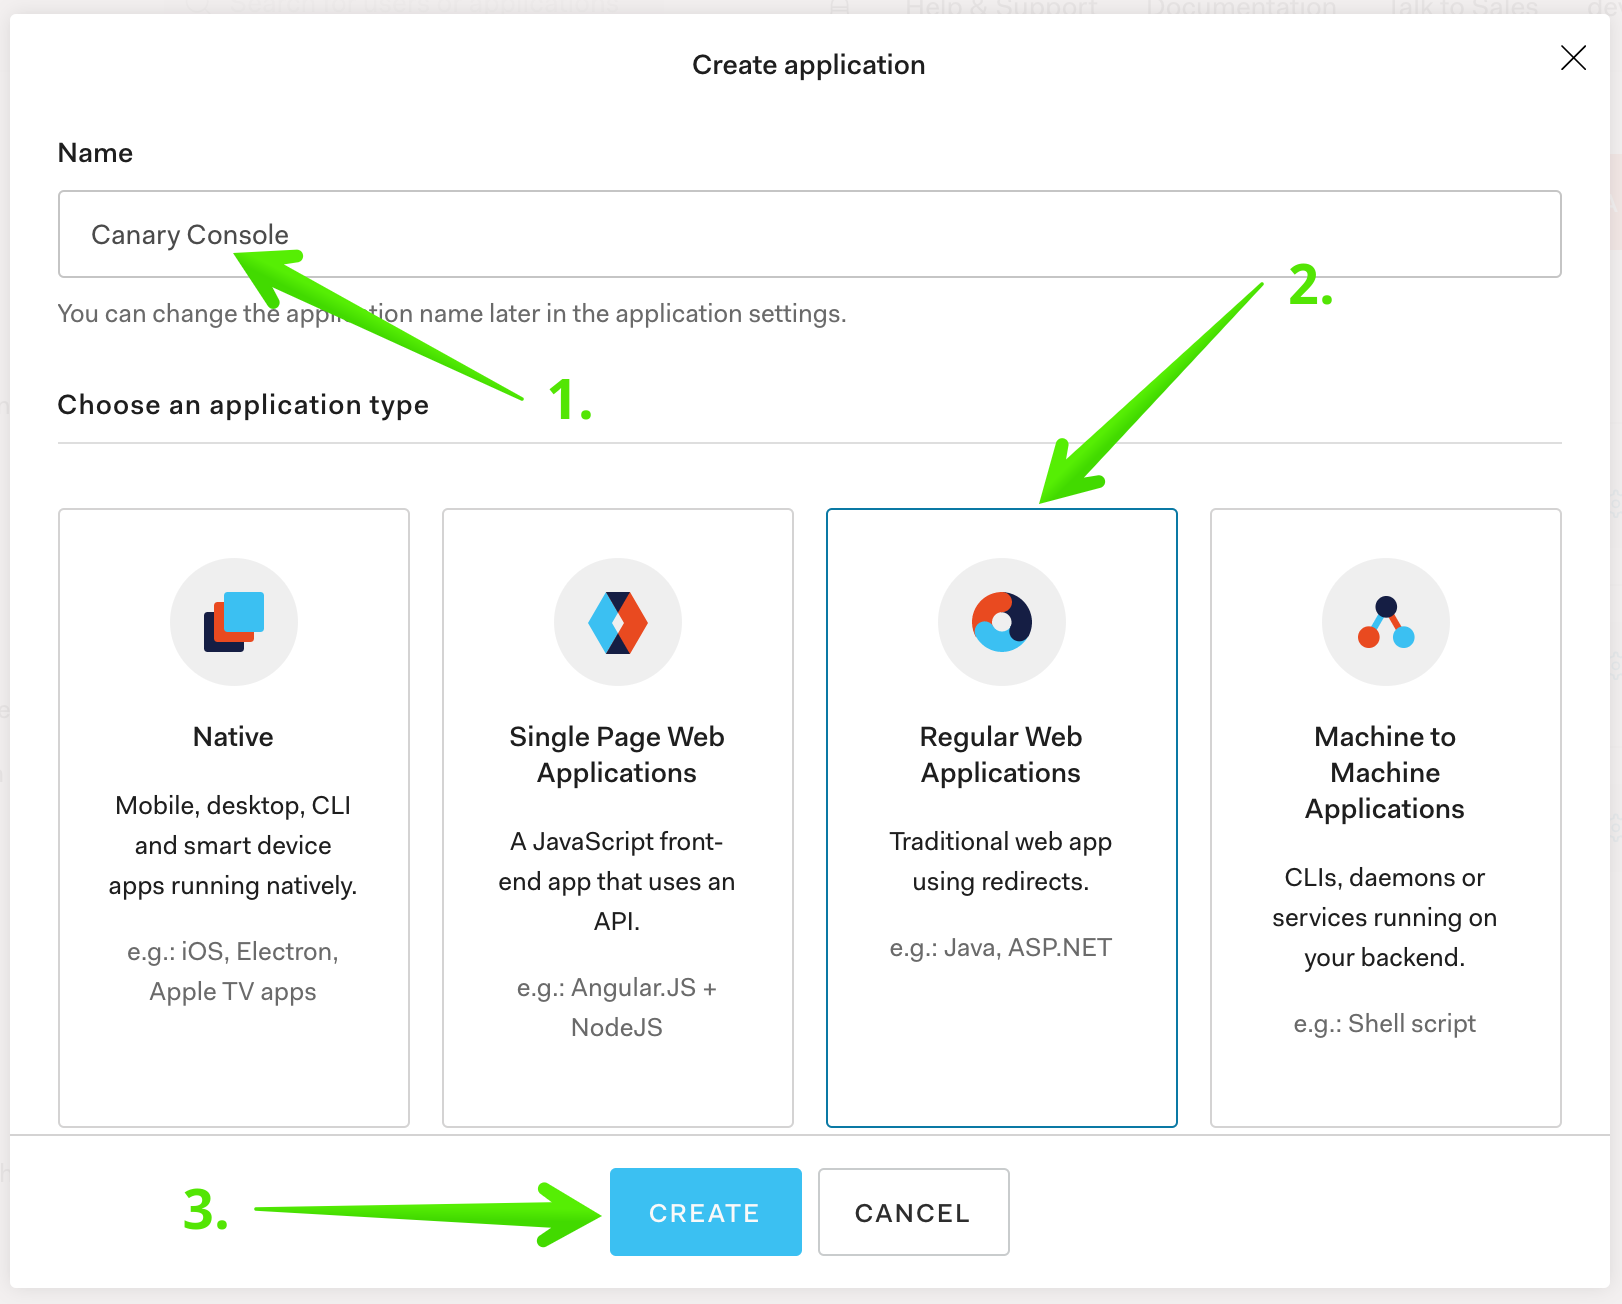
Click Applications, then click CREATE APPLICATION:

In the modal that pops up, give your new application a name, then click on Regular Web Applications, then click CREATE:
Step 3: Enable the SAML Addon
Click Addons, then click on SAML2 Web App to enable the SAML Addon:
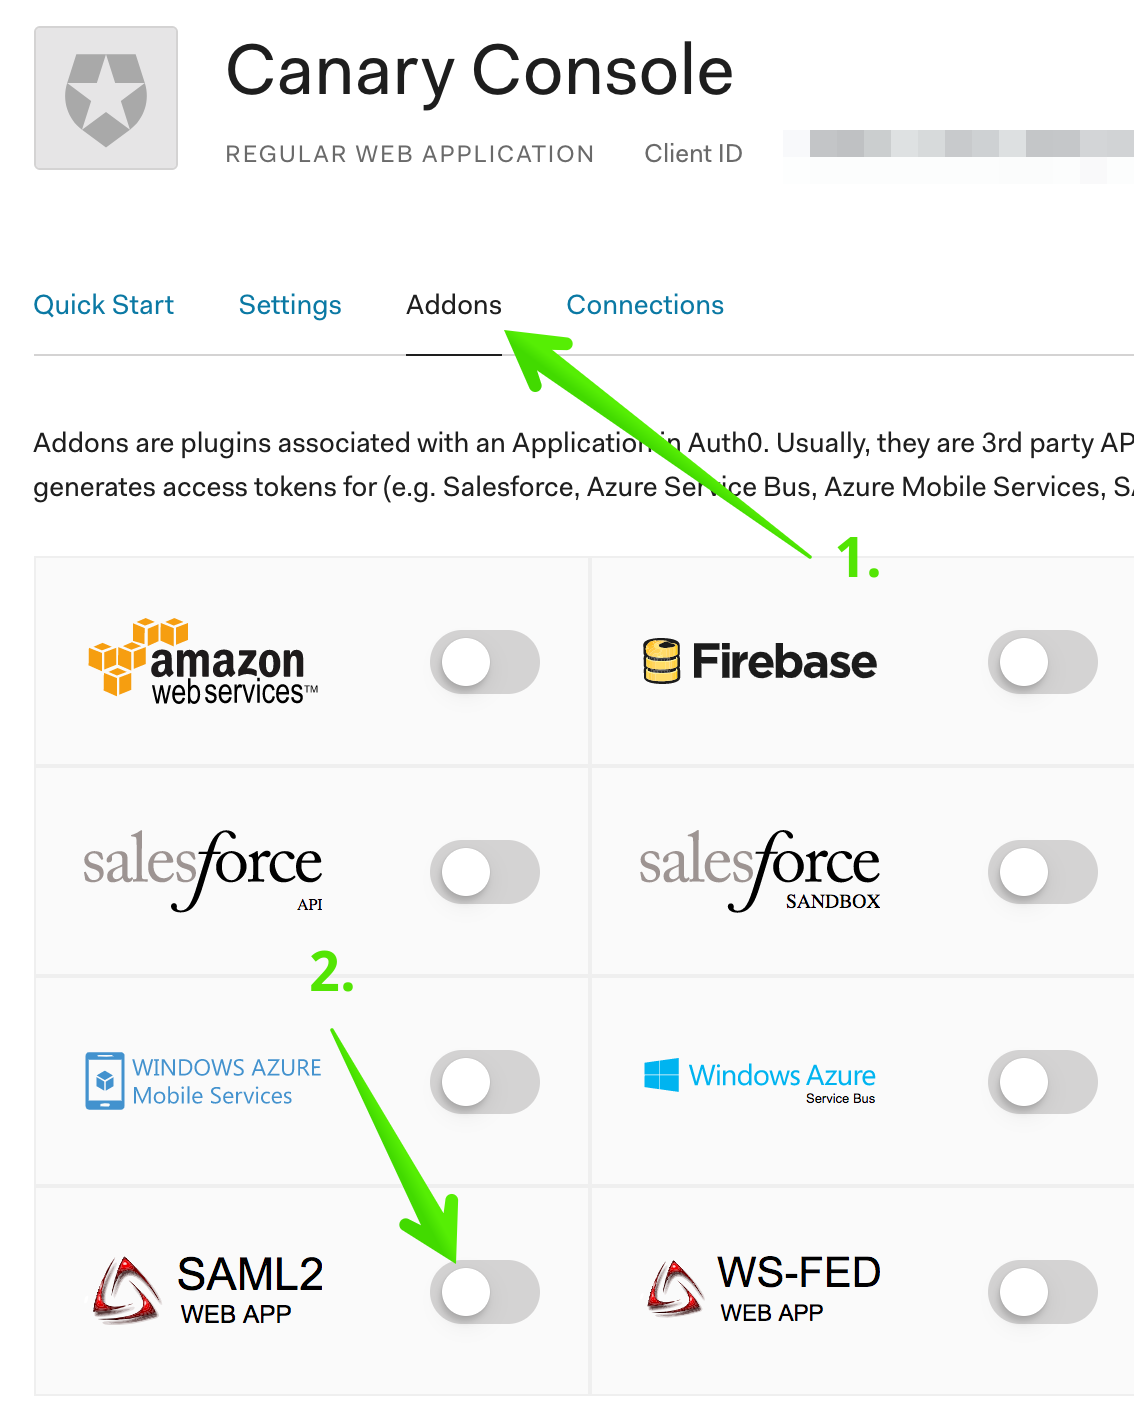
After enabling the addon, a modal window will appear to configure the addon.
Step 4: Configure the SAML Addon
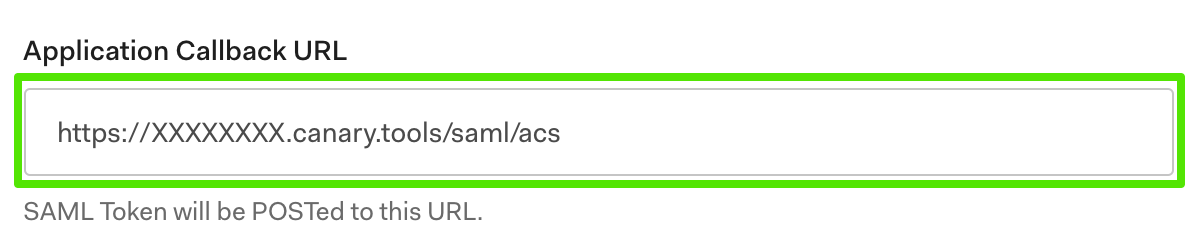
In the Application Callback URL field, paste the ACS URL from Step 1:
The Settings takes a JSON object to configure the rest of the addon. Here is the template for the object (replace XXXXXXXX.canary.tools with your Console's hostname):
{
  "audience": "https://XXXXXXXX.canary.tools/",
  "mappings": {},
  "createUpnClaim": false,
  "passthroughClaimsWithNoMapping": false,
  "mapUnknownClaimsAsIs": false,
  "mapIdentities": false,
  "nameIdentifierFormat": "urn:oasis:names:tc:SAML:1.1:nameid-format:emailAddress",
  "nameIdentifierProbes": [
    "http://schemas.xmlsoap.org/ws/2005/05/identity/claims/emailaddress"
  ],
  "logout": {
    "callback": "https://XXXXXXXX.canary.tools/saml/logout",
    "slo_enabled": true
  }
}
After replacing "XXXXXXXX" in the template, paste into the Auth0 settings field, scroll down and click Enable:
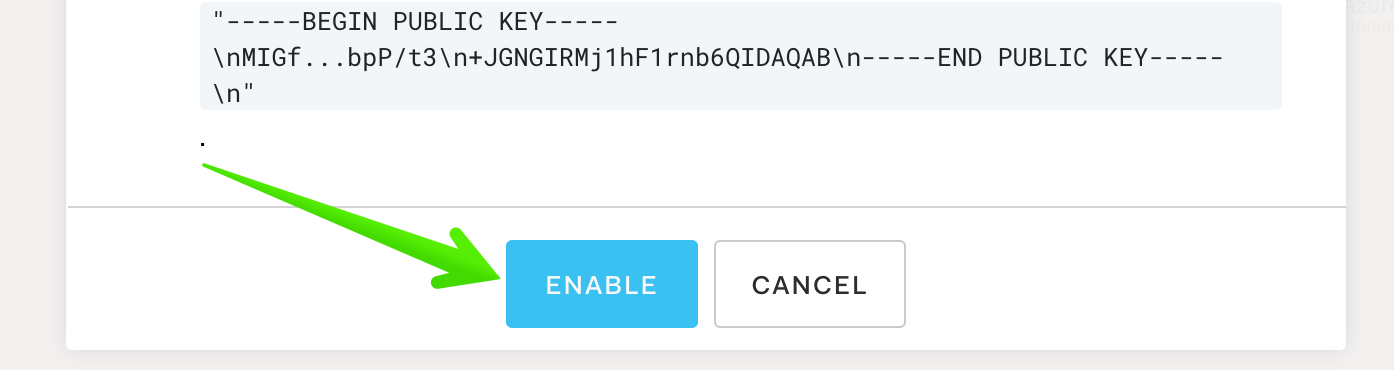
This saves the addon details.
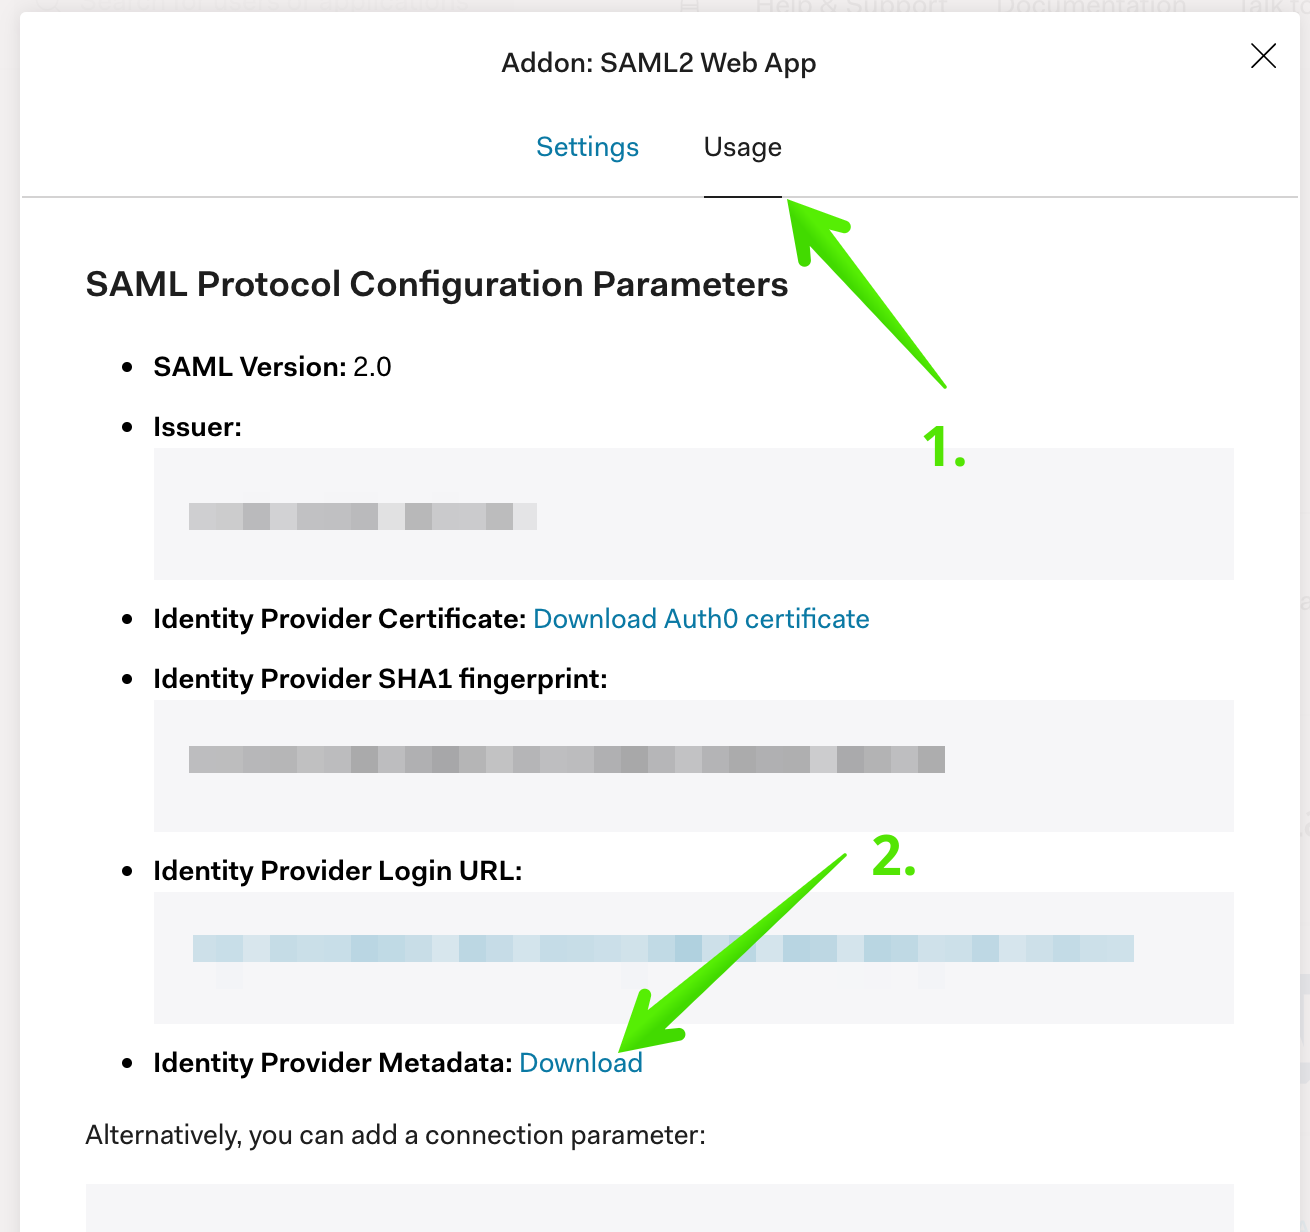
Step 5: Download SAML Metadata
Click on the Usage tab, then Download next to Identity Provider Metadata:
Step 6: Send us the SAML Metadata
Send us the previous step's SAML metadata file in a support ticket to us here and we'll configure your Console with the IdP metadata and confirm when SAML support is fully set up.
Step 7: Test login from the Console
You'll know it's working when you see your Console Login page show a Login with SSO button:
Click the button to initiate the SSO login.